Thursday, April 28, 2011

french dresser

Here is my newest redo


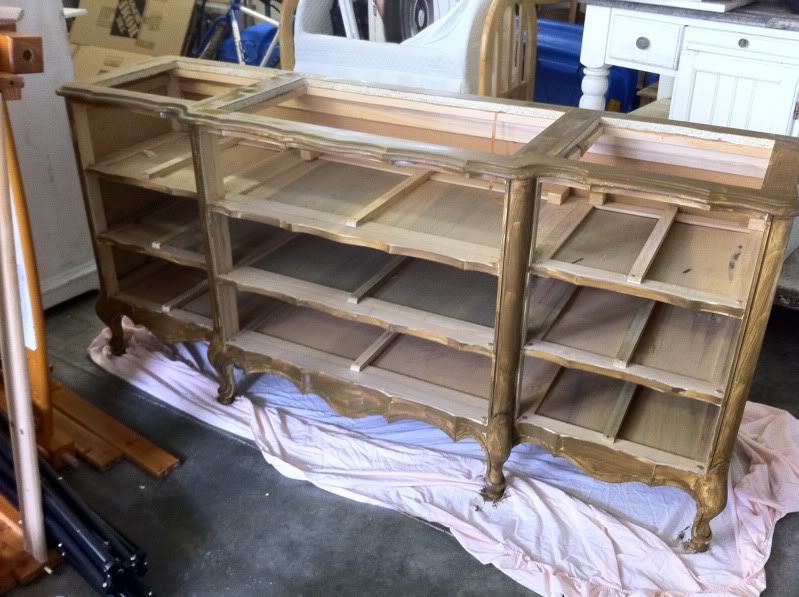
So i bought this dresser about 1-2 years ago and it has needed a makeover bad!! i started out by painting a brown over it so the gold and yellow wouldn't show through to much.


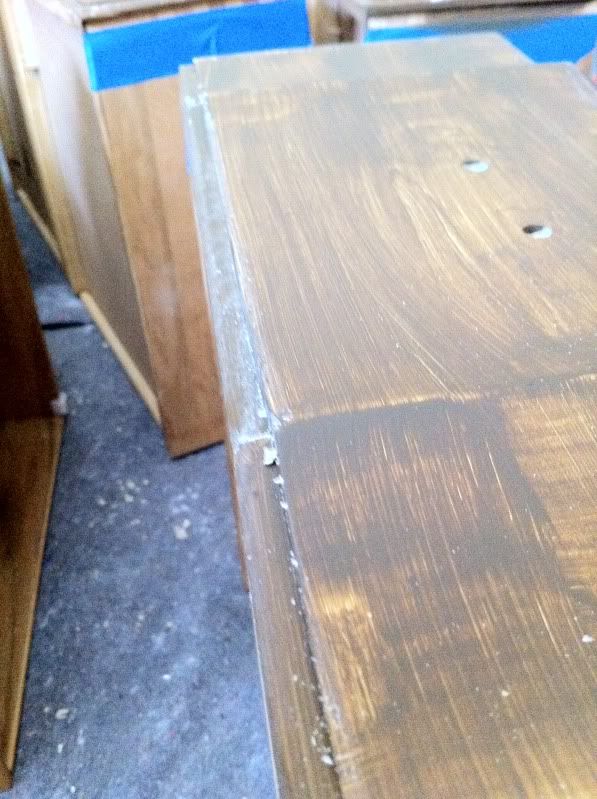
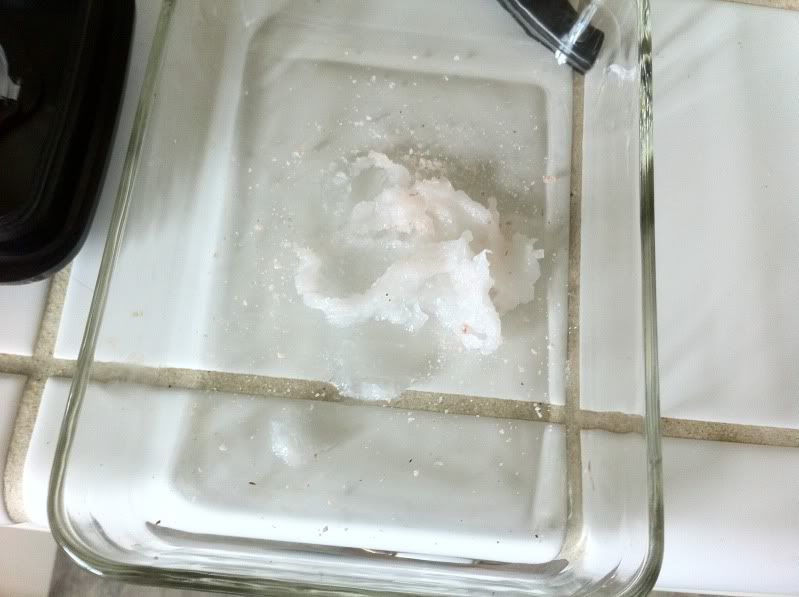
 then i put wax from a yummy smelling candle on the parts i wanted the cream paint to come off easily. the yummy part was just a bonus ;)


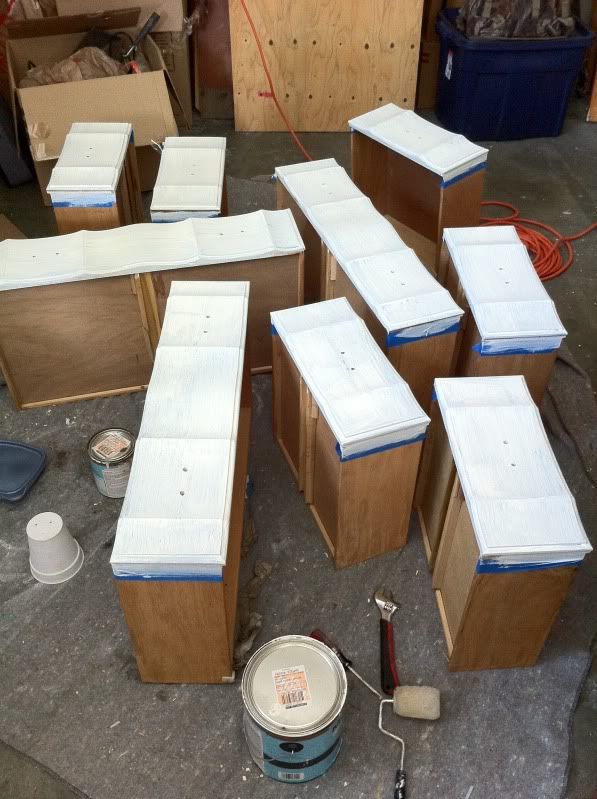
 then i took 3 coats of creamy flat white paint (not chalk paint yet i had already bought the paint for this one a long time ago) to cover this bad boy! 


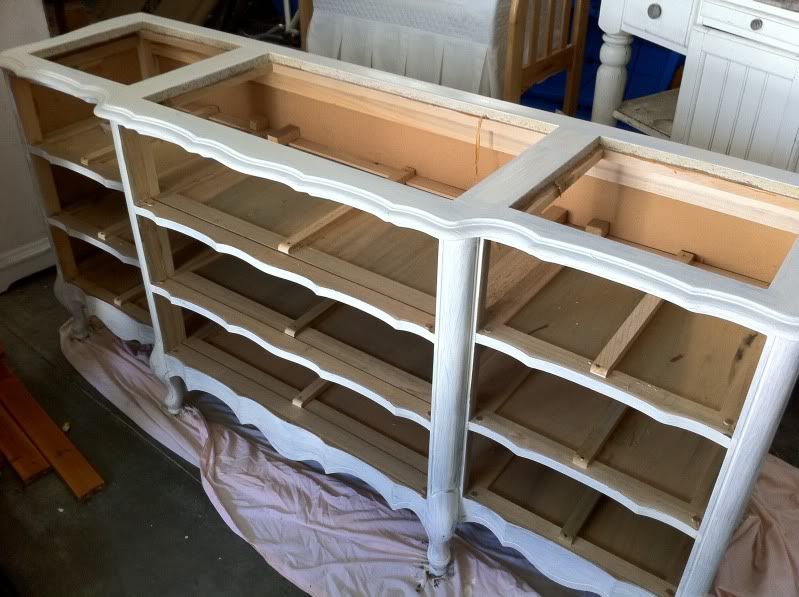
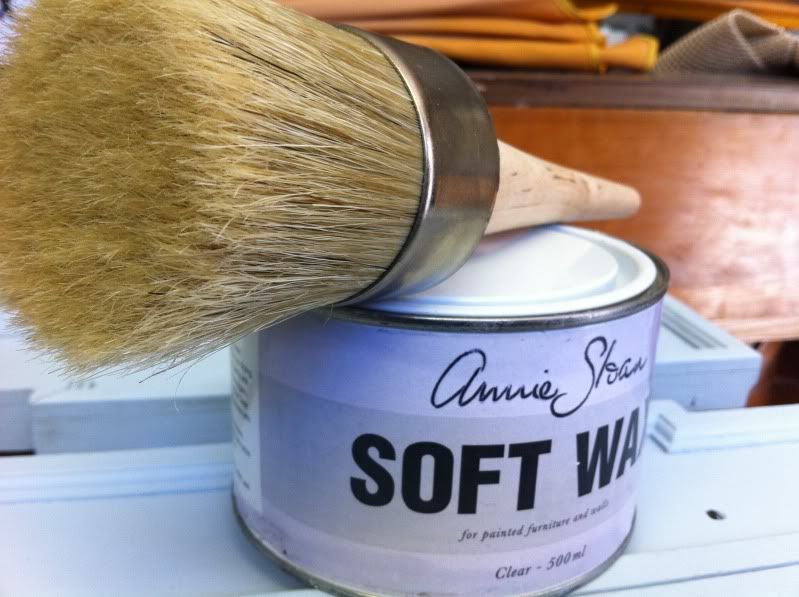
*then i put a clear soft wax with a great brush. then sanded it and distressed it with both fine and rough paper.


Then i used dark soft wax (very little) just mainly getting it in the cracks and only doing a area of about 4 inches at a time so it wouldn't get to dark. and rubbing a lot with a old pair of tights haha.
here is the before picture ( probably the best before picture ever ;) i couldn't find the other one so you get this one of my newborn shoot of our cruz :) 

Heres the after


A Legal dutch babies breakfast.


I love breakfast! i should add that i love sweet breakfast! pancakes, waffles, cinnamon rolls you name it if comes in a sugary breakfasty form im game! WELL since i have gone gluten/sugar/dairy free for 2 weeks now and counting all those things are well .... out of the picture..... you would think! BUT after this mornings breakfast. i think not!

My grandma Johnson is a amazing cook. She has a amazing COOK BOOK that has all my favorites in it! I have been know to put away 6 cinn rolls. :-) she makes by far the best ones in the WORLD! This cook book is a piece of art as she painted a amazing floral water color for each recipe, and her hand writing is well incredible. If you only get the cook book for that one thing its worth it but there are so many other things in there that are amazing. Well i am determined to figure out how to make some of these things LEGAL for me to eat. hehe :)

So on todays menu is Dutch Babies.
they are super easy! (NOTE im going to be giving you my gluten/dairy free version)

*first pre heat your even to 375 put a 1/4 cup of coconut oil and a 1/4 teaspoon of sea salt in a shallow pan and place it in the preheating oven. (note, this picture is of my test batch in a small pan normally i put it in my dutch baby pan)

* next put three eggs in your blender and mix for 1 min. 

* next add 3/4 cup rice milk slowly while its blending (or almond milk ect....)


*now add 3/4 cup gluten free flour slowly.....blend for 30 secs this is what i use for it

Just a note i start the blender with the lid on then take it off and put flour in. ;)

* pour in the hot pan thats been warming in the oven and bake for 18-22 mins until golden (this picture is of the pan i made with real butter for the kids.... i didnt know if the coconut oil would turn out yet and they were hungry so i used real butter for theirs just in case  haha)
*then when ready this is what they look like (another pan lol)

this is where you can be super creative with toppings but I serve them with berries and drizzle a little maple syrup also bananas mix with berries are super yummy too. My kids eat them with just maple syrup :) 


Wednesday, April 20, 2011

washing wool diaper covers (woolies)

i thought i would share with you how to wash your woolies. its super easy and doesn't require much skill once you know how ;) I actually like washing them its kinda relaxing and makes me feel like im old school hhehe...... so hear goes.

* Firsts take your woolies and turn them inside out if possible. 
*Take wool shampoo of your choice, if you dont have any you can use baby shampoo or a gentle liquid dish soap. 
*put it in the tepid water and mix around.

*place your woolies in the water and work gentle around. if they are soiled then you can scrub them a little until clean, just not to much. 
*let sit in the water for about 15 mins.

*drain the water and squeeze out excess water. i like to rinse them under running water to make sure all the soiled water in gone.


*next fill your sink with a little bit of VERY HOT water (the reason for the gloves). 
*then you get your lanolin. i use the kind most have for chapped boobies from breast feeding (you can get at most stores) ;) haha.

 *rub it around in your fingers under the water to get it to melt.
*add about 1/2 cap of the wool shampoo at this point, it helps get the lanolin of your glove and get it mixed in. make sure there are no clumps left.

 *fill with more water to make the temperature luke warm. 
*place your woolies in the water moving them around and working the lanolin water through them.
*let them sit for at least 30 mins. i usually forget about them and leave them for hours, and thats totally fine too.

*Next drain the woolies just like you did before. 
*lay them out on a towel

*fold the towel over

 *roll squeezing to soak up the water.

*take them out and lay flat to dry. also it can take longer than 24 hours.
 

there ya have it. :) all clean and whats great is you don't have to wash for about 2 more weeks.

P.S. im working on a couple furniture redos.. post soon as i can finish then. (pray for sun hehe)

Sunday, April 17, 2011

a family of bloggers ;)

I have a wonderful family full of amazing people who i look up to and admire. After being introduced to one of my cousins blogs today, a thought came to me how i would love to talk about my families blogs and brag a little hehe ;-) (none of them have asked me to do this BTW hehe)

 My mother is so amazing and my best friend! she has so much wisdom about many things. One thing that she is such a inspiration to me about is health and wellness. she takes such great care of her self inside and out. im always learning new things about health and wellness form her. Im so excited to say she now has a blog about it and gets to share with so many more people and help them to be the best healthiest "them" they can be.


My cousin charis is so amazing with words the way she puts them down is wonderful to read. she has great help with the bible, shares her stories as a mom of 4 young boys and being a loving wife. she is a inspiration to me in how she does life! she has had her blog for awhile and there are so many to go back on and read. i just love it.


My other cousin nichole (charis sister) just started blogging and i just love all the tutorials she has on there. from yummy ice cream to bows :) she is so creative. her blog title is so great...blog not perfect
she too like her sister can write great and is so fun to read. She also designed her blog and her sisters blog super cute huh?


I shared a while back about myriahs photography blog. she married my cousin nathan (nicholes twin brother) We grew up together and we loved to do photo shoots together. her being the amazing photographer.. well she grew up and still takes pictures so amazingly! i love her eye its just great!


Now i have a cousin hannah who loves all things vintage and im pretty sure her wedding was my all time favorite ever!! if only i had pictures to show all you! it was vintage heaven im sure! lol
she has a great fun blog just looking though her post you get visual inspiration at how everything she touches is made beautiful. she made her little apartment to look amazing! which she has pictures of on there.


now the next person in not my sister by blood but she is in every other way! i met her after she became my moms P.A. and that was it. Best buds/sisters for life so its only fitting to add her blog in here :) 
i love the way she writes she is very honest with her words and the way she puts her life to the page.


hope you enjoy looking at them. (and again they have not asked me to do this) just thought i would brag on my family and all our blogginess hehe.


P.S. some of my friends got together and got this great rocker for my front porch. i just love it. 

(also time to wash the porch hehe)

Sunday, April 10, 2011

our chicks

Our chicks are 3 weeks old now.... but i just have to show you them when we first got them. they were my birthday present. :) we had to buy 6 at a time but we can only keep 3 for our small city yard :) so we gave 3 away... 


:)
we love them :)

Friday, April 8, 2011

drop cloth wreath


 I have a wonderful friend heather armstrong  and it was her birthday the other day. she is amazing at so many things, so creative and such a amazing giving heart. i adore her inside and out! She loves giving gifts! So of course i had to make her something special.  

her is the wreath i made and put a little twist on from ones i had seen.


First i cut three inch strips of drop cloth canvas. im actually not sure how long i cut them but i did three different strips and used the edges of the drop cloth so i didnt have to hem it. woohoo.

i do ruffles a different way. i just scrunch and sew as i go....
then it looks like this.
here they are all done.
then bust out the hot glue gun and glue one end down to start......just glue as you wrap it around. i glued lightly at first in case i needed to move it around a little. then glued more once it was all done. 
then i picked the fabric for the cloth flowers and the buttons for the flowers. (I forgot to take pictures)
but here are the after pictures :) 


im linked up to some parties
shabby nest
funky junkinteriors
type a decorating